Project Management
This chapter introduces how to manage projects in Kylin.
Manage Projects
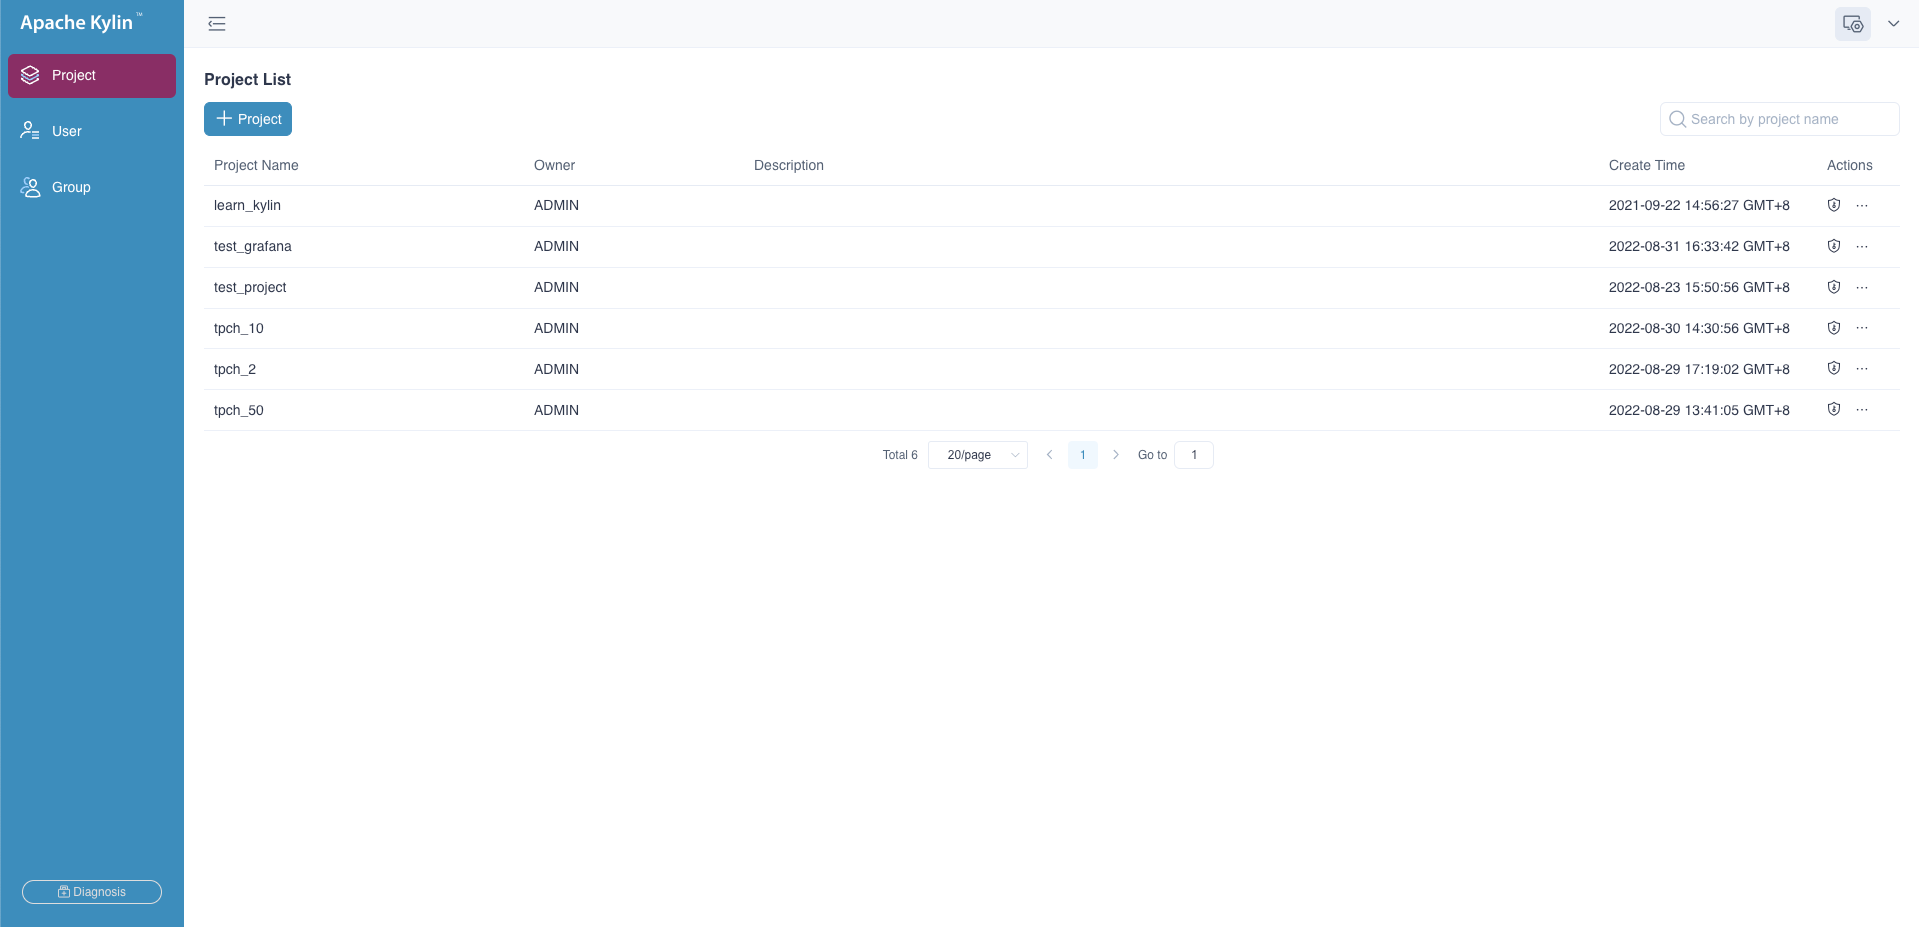
After the system administrator logs in to Kylin, click the Admin button in the top toolbar to enter the system management page, and click the Porject field to enter the Project Management page.
Note: if no project exist, you will not be allowed to access the Admin page. Please add a project firstly and then enter the Admin page.
On the project management page, the system administrator can view the project information in the project list, and can also add projects, delete projects, backup projects, or grant user access permissions.

Add a Project
The system administrator has two ways to add a new project:
- On the Admin -> Project Management page, click the + Project button above the project list.
- On the product normal page, click the +(Add Project) button at the top toolbar.
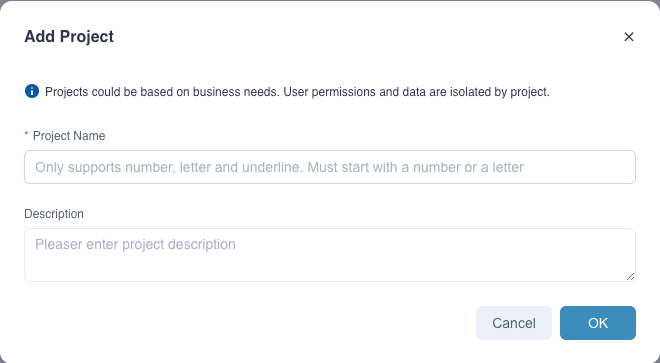
Fill in the project name and description in the pop-up window. The project name is mandatory; the project description is optional. A good project description will help with the maintenance of the project in the future.

tips: project name is case insensitive, so duplicate names with existing project names are not allowed.
Delete a Project
On the Project Management page, select a project to be deleted, click the ...(More Actions) button under the Actions bar on the right, then click Delete.
The system administrator can confirm to delete a project in the prompted window. After the project is deleted, it will not be restored and the related data will be cleared.
If there are jobs in RUNNING, PENDING, or PAUSED status in the project, it is needed to terminate the jobs before deleting the project.
Change Project Owner
On the Project Management page, select a project to change owner, click the ...(More Actions) button under the Actions bar on the right, then click Change Owner. Only the system administrator has permission to change the project owner.
Grant Porject-level Access Rights to User
On the Project Management page, select a project to authorizer, click the Authorization button under the Actions bar on the right and set permissions for the project. You can find out more at the Project ACL section.